Are you wondering how to add product quick view in WooCommerce and allow your customers have a quick preview of your online WooCommerce products?
If yes, then you’re at the right place. This post aims to guide you to add a product quick view feature on your WooCommerce store that allows customers to preview product details without opening the product page.
Table of content
Why to add product quick view in WooCommerce?
Quick View is a feature that allows customers to preview detailed information about a product or item without the need to navigate to the product page.
You’ll need to add product quick view in WooCommerce because of the following reasons:
- Enhanced User Experience: Customers can quickly preview the product details and add them to the cart.
- Improves Conversion Rates: With quick access to add to cart form, product quick view simplifies the buying process and increases conversion rates.
How to add product quick view in WooCommerce?
In order to add product quick view in WooCommerce, you should install Addonify – Quick View for WooCommerce plugin. This plugin is free to use and adds product quick view feature into your WooCommerce store.
To install and activate the plugin,
- Go to the WordPress dashboard menu.
- Click on Plugins > Add new.
- Search for “Addonify Quick View For WooCommerce” and click Install now button.
- Click Activate button after installation.
Enabling quick view
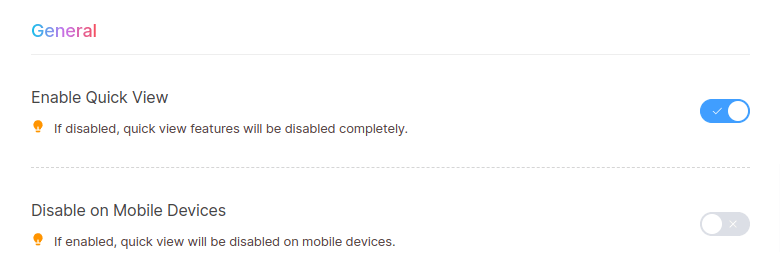
If the product quick view isn’t visible at the front end, enable Enable Quick View option.
By default, product quick view is enable for the mobile devices. If you don’t want it enabled on mobile devices, enable Disable on Mobile Devices option.

Customizing product quick view button
In the Button Options section, located just below the General tab, you can find the options to customize the product quick view button.
With the Button Position option, you can decide whether the quick view button appears before or after add to cart button on your shop product catalog. You can then set the label for button with the option, Button Label.
Enable the option, Enable icon in quick view button, to display an icon in the quick view button. You can then select an icon. And position of the icon either before or after the button label.

Customizing product quick view modal
Navigate to the Modal Box Options section in the General tab menu to configure the product quick view modal.
Selecting product details to display
Select the product details, image, title, price, rating, excerpt, meta, and add to cart button to be displayed in the quick view modal with Content to Display option.

Customizing modal layout
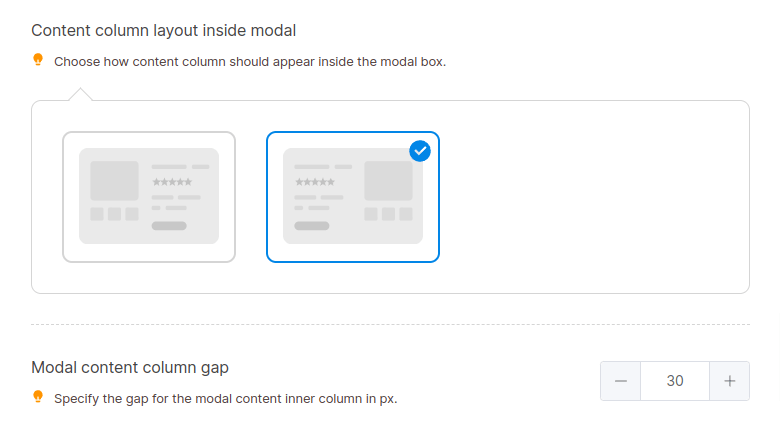
You can position the product image either before or after the product details.
You can also adjust the gap between the product image and product details with Modal content column gap option.

Customizing product image/gallery
By default a product image is displayed in the product quick view modal. But if you want to display the product gallery image instead of just a product image, select Product Image or Gallery in the option Product Thumbnail.
If you want to enable the lightbox feature that allows zoom and navigation for the product image or images, enable Enable Lightbox option.

Adding modal animations
You can add a dynamic touch to the user experience by choosing quick view modal opening and closing animation effects with options, Modal opening animation and Modal closing animation.

If you do not want quick view modal opening and closing animation, choose None from options values.
Customizing methods to close modal
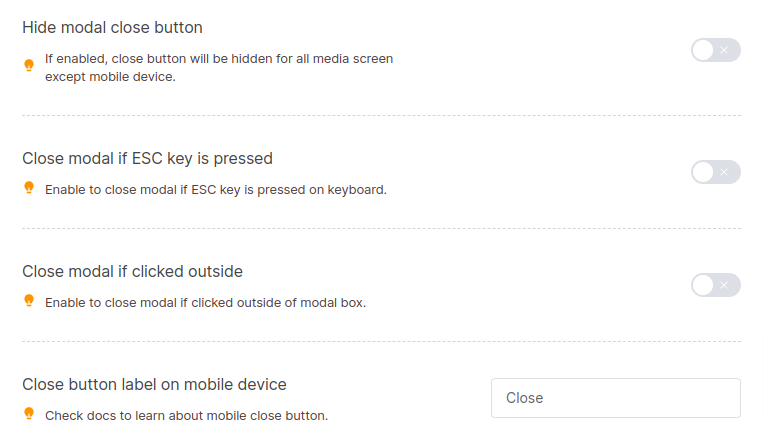
Closing quick view modal with click on the close button is not the only way. Clicking outside the quick view modal or pressing the Esc keyboard key can also close the modal. You can enable these features with the options Close modal if clicked outside and Close modal if Esc key is pressed, respectively.

Enable Hide modal close button option to not display close button in the quick view modal.
Adding product page link
If you want your customers visit the product page from the quick view modal, enable Display View Detail Button option. If enabled, a buttton link to the product page is displayed. You can also set the label for the link with View Detail Button Label option.

Selecting spinner/loading icon
Before the product details get loaded into the quick view modal, a spinner or loader icon is seen by customers. You can select the icon of your choice with Spinner Icon option.

Customizing styles
To customize the colors, typography, styles etc, of the quick view modal box, buttons, icons, and product content, navigate to the Design tab in the plugin’s setting page. Enable the the option, Enable Dynamic Styles. Then, you can start customizing quick view button, quick view modal, product content, modal close button, and buttons displayed inside the modal.

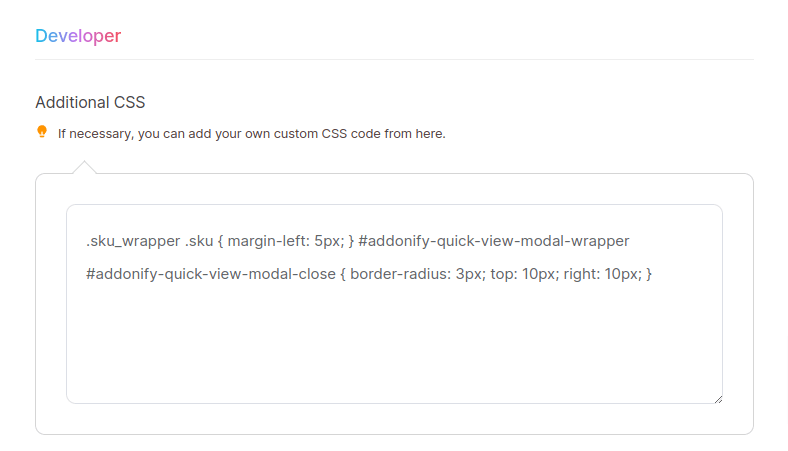
If you want to write custom CSS for further customization, write it inside the Additional CSS.

Conclusion
We hope this post helped you add product quick view feature into your WooCommerce store. If you are looking for the best WooCommerce plugins, read the best WooCommerce plugins for your online store.
If you have any questions or feedback, please don’t hesitate to leave them in the comment section below.
Thank you for reading till the end 😊.
